Thor's Hammer PCB
complete
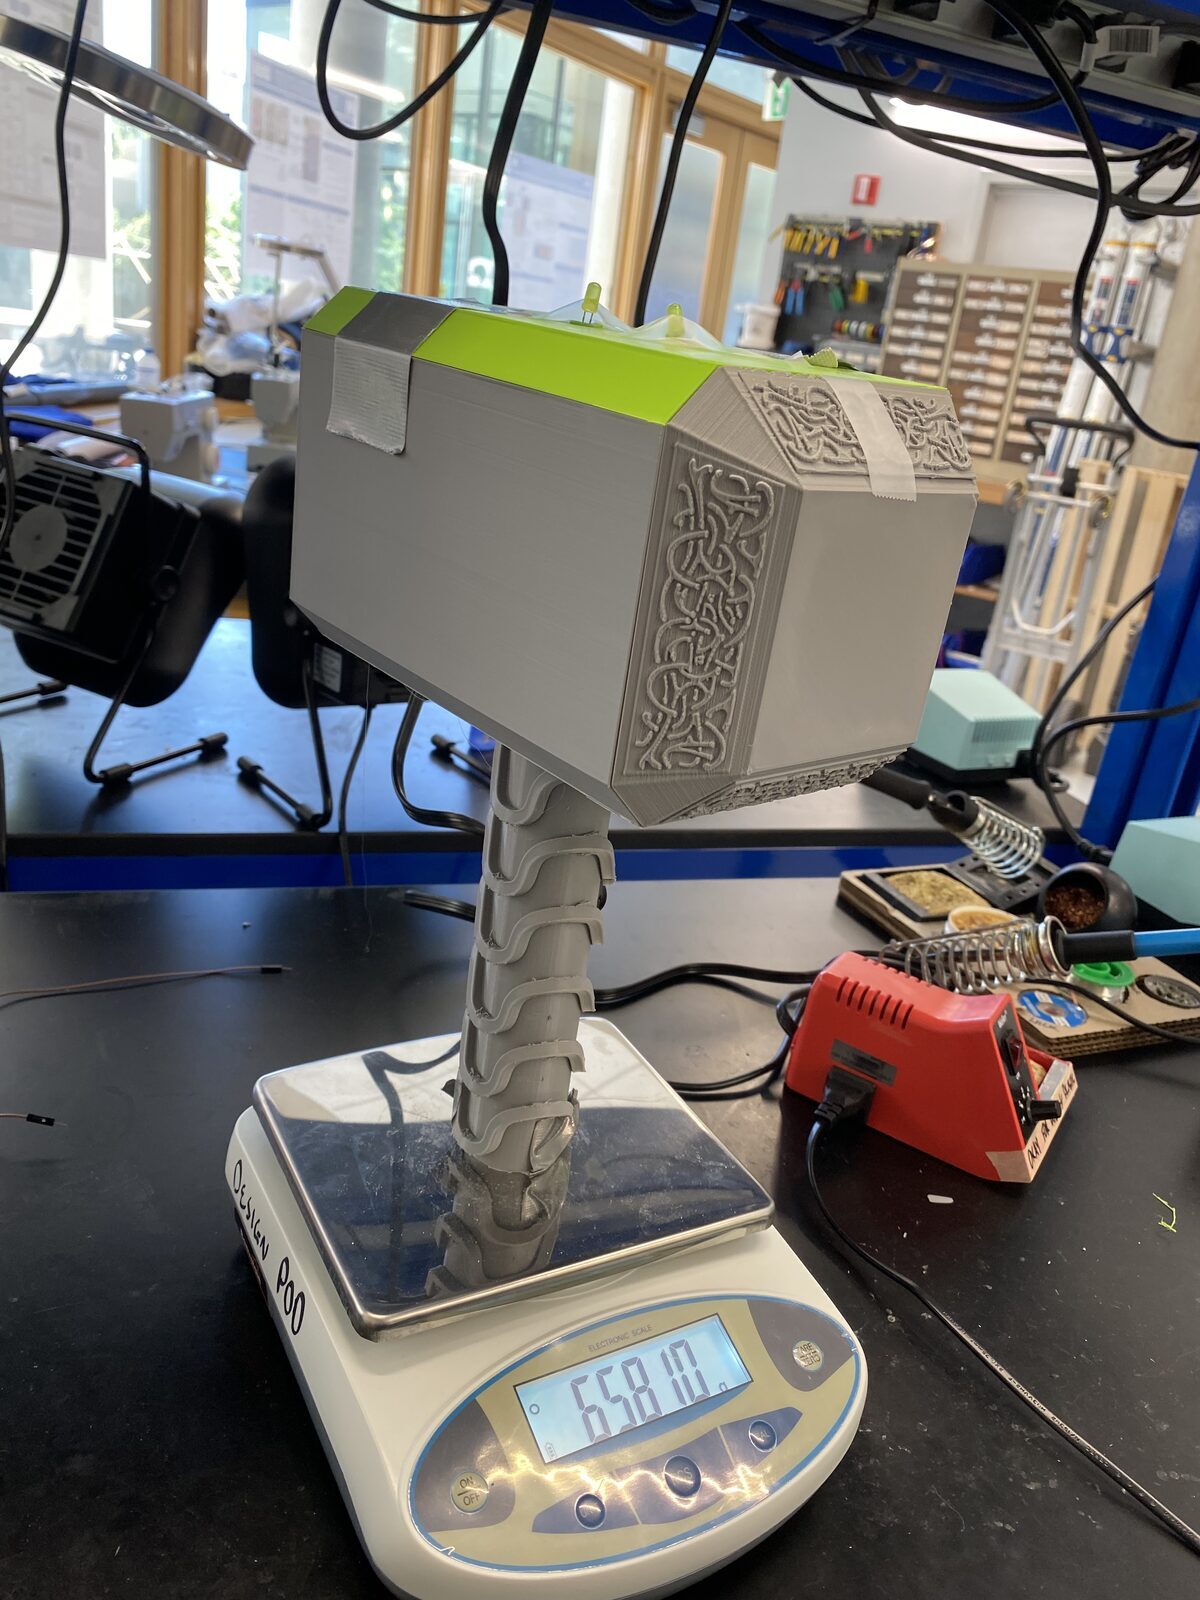
My first PCB, and the enclosure I built to give it somewhere to live: Mjolnir.
The circuit is a timer. Press the button and the lights blink asynchronously between 500 and 1000 milliseconds, depending on where the potentiometer is set.
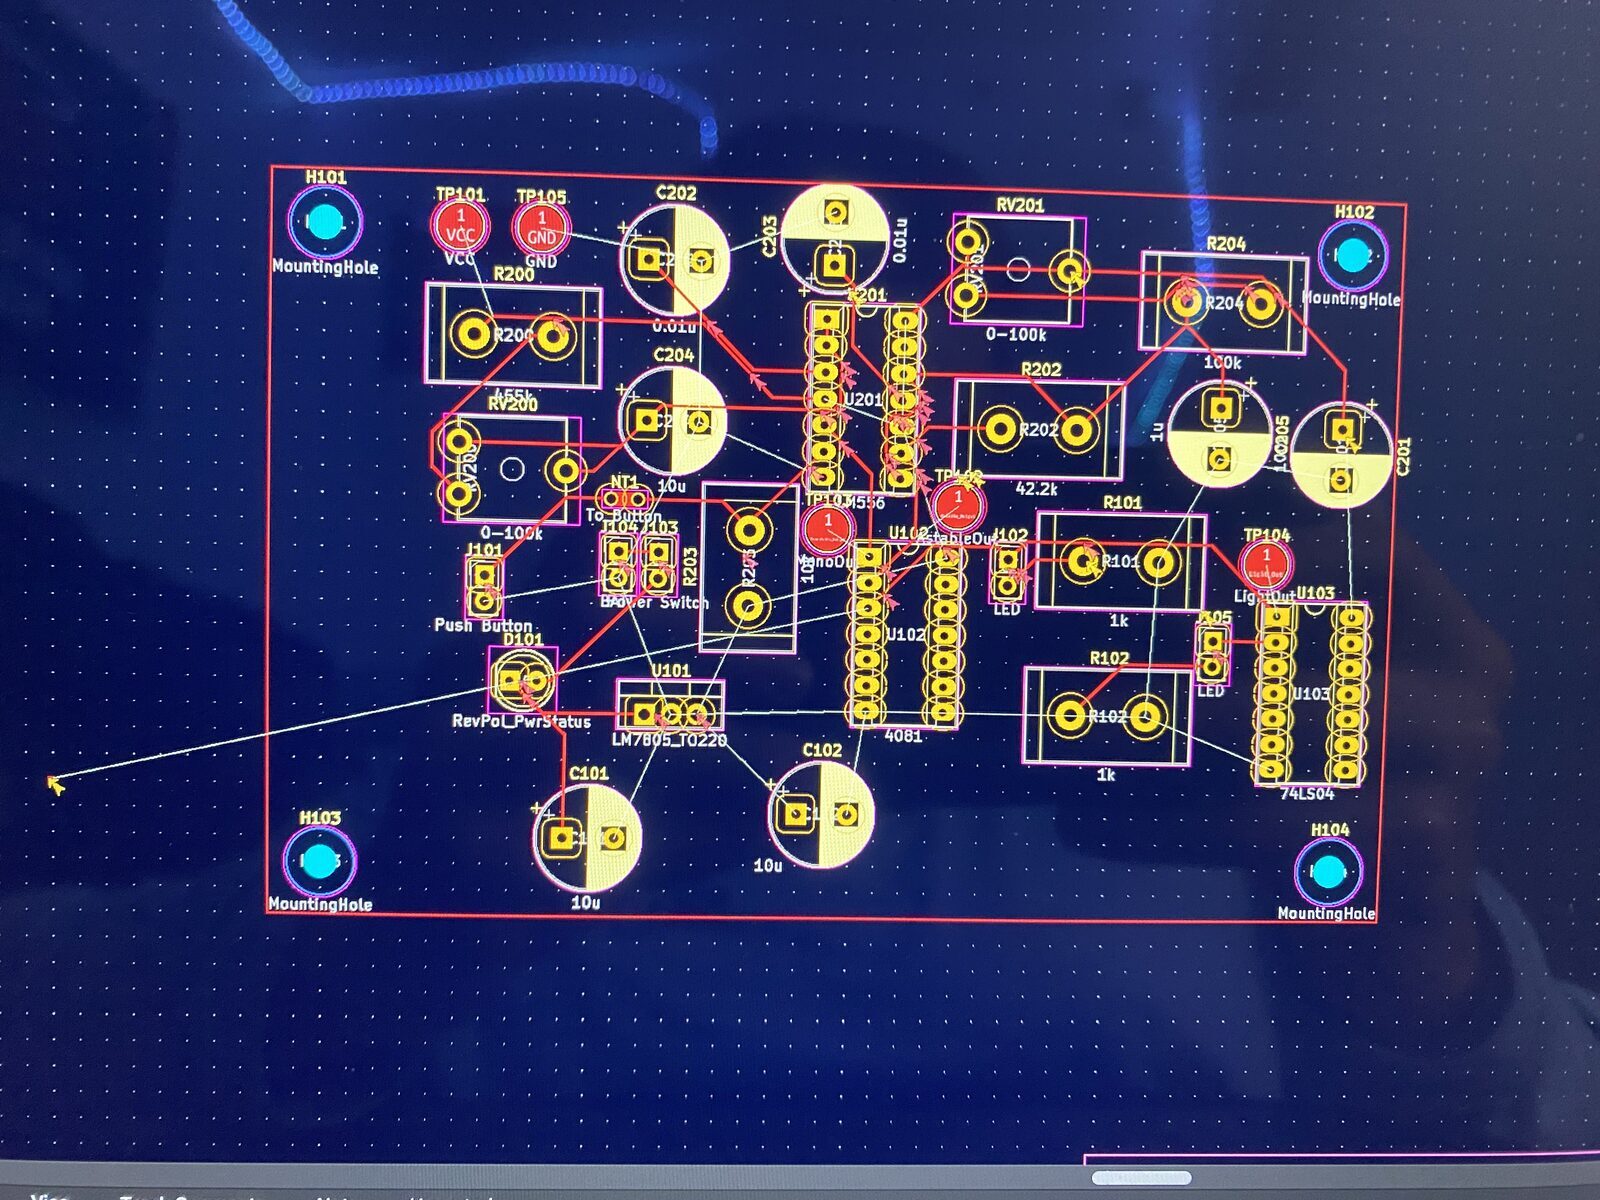
I designed the circuit and then built the entire board file in KiCad. I went one-sided (since my professor said that it would be more of a challenge), which makes routing harder and the result cheaper, and the layout turned out to be the part I enjoyed most. I like Tetris, and PCB design felt like a huge game of Tetris.
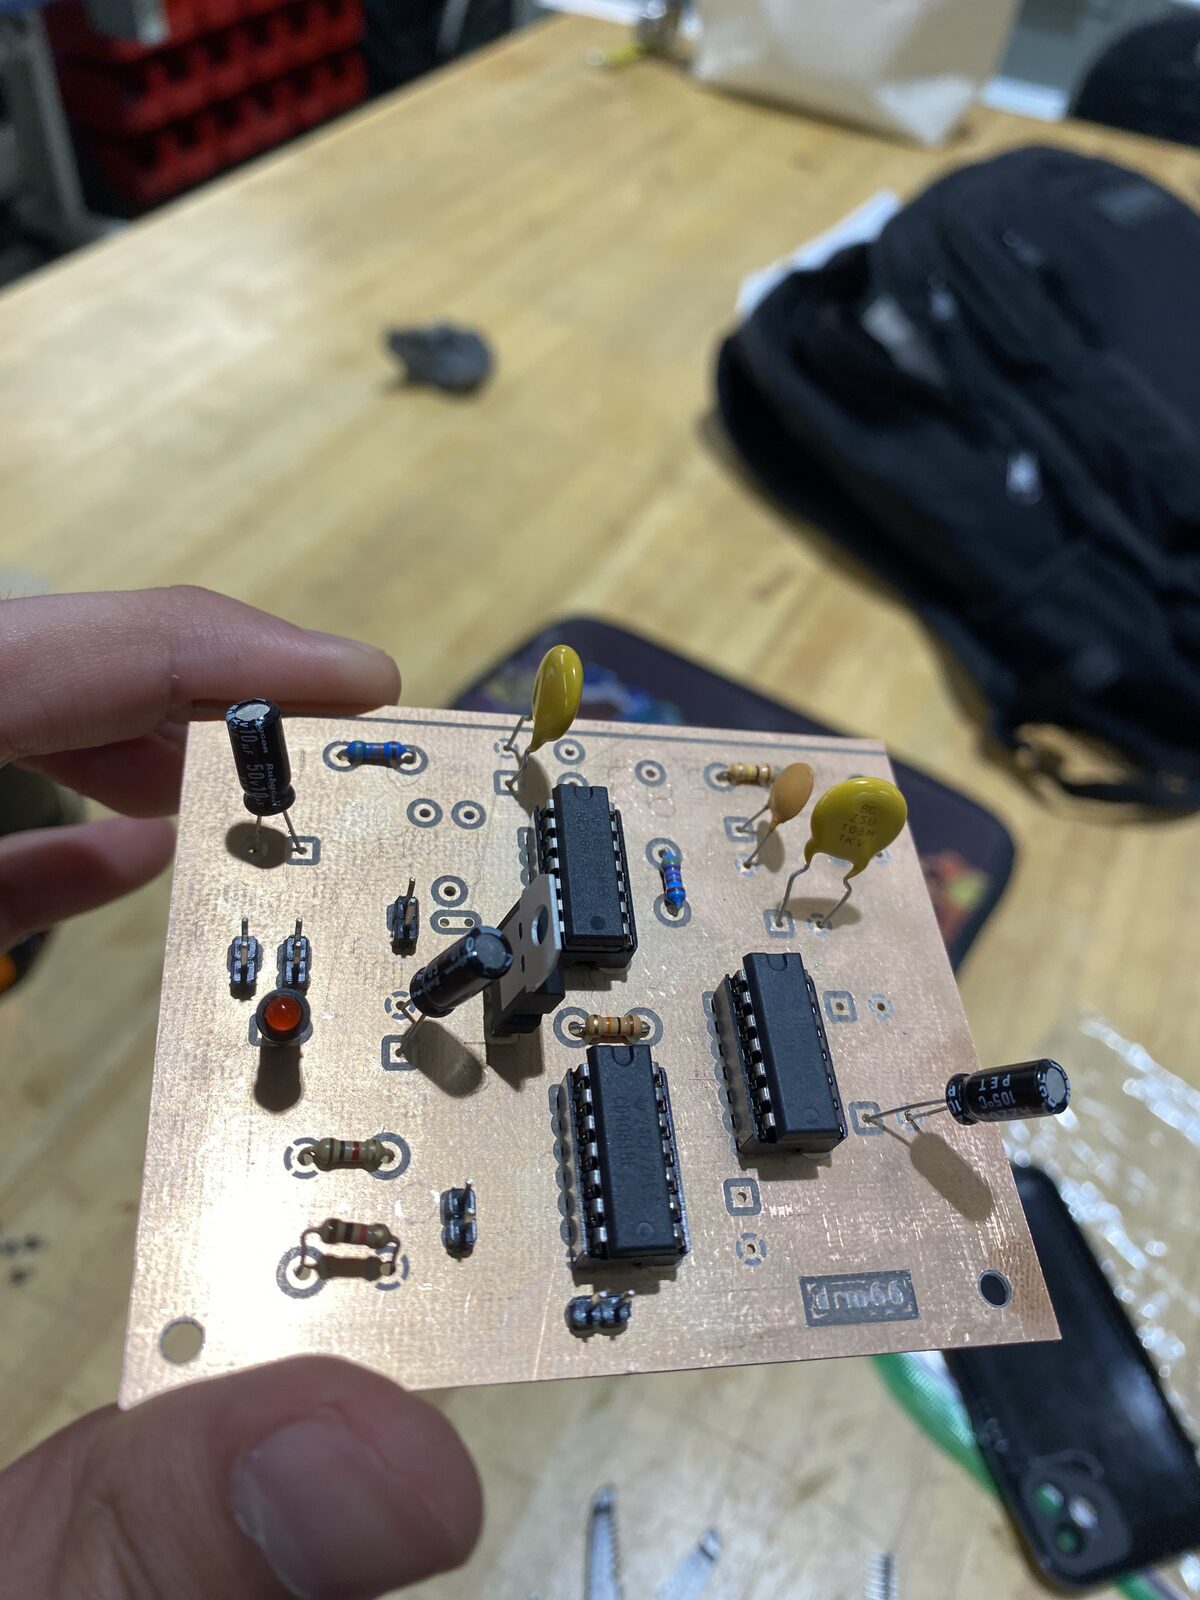
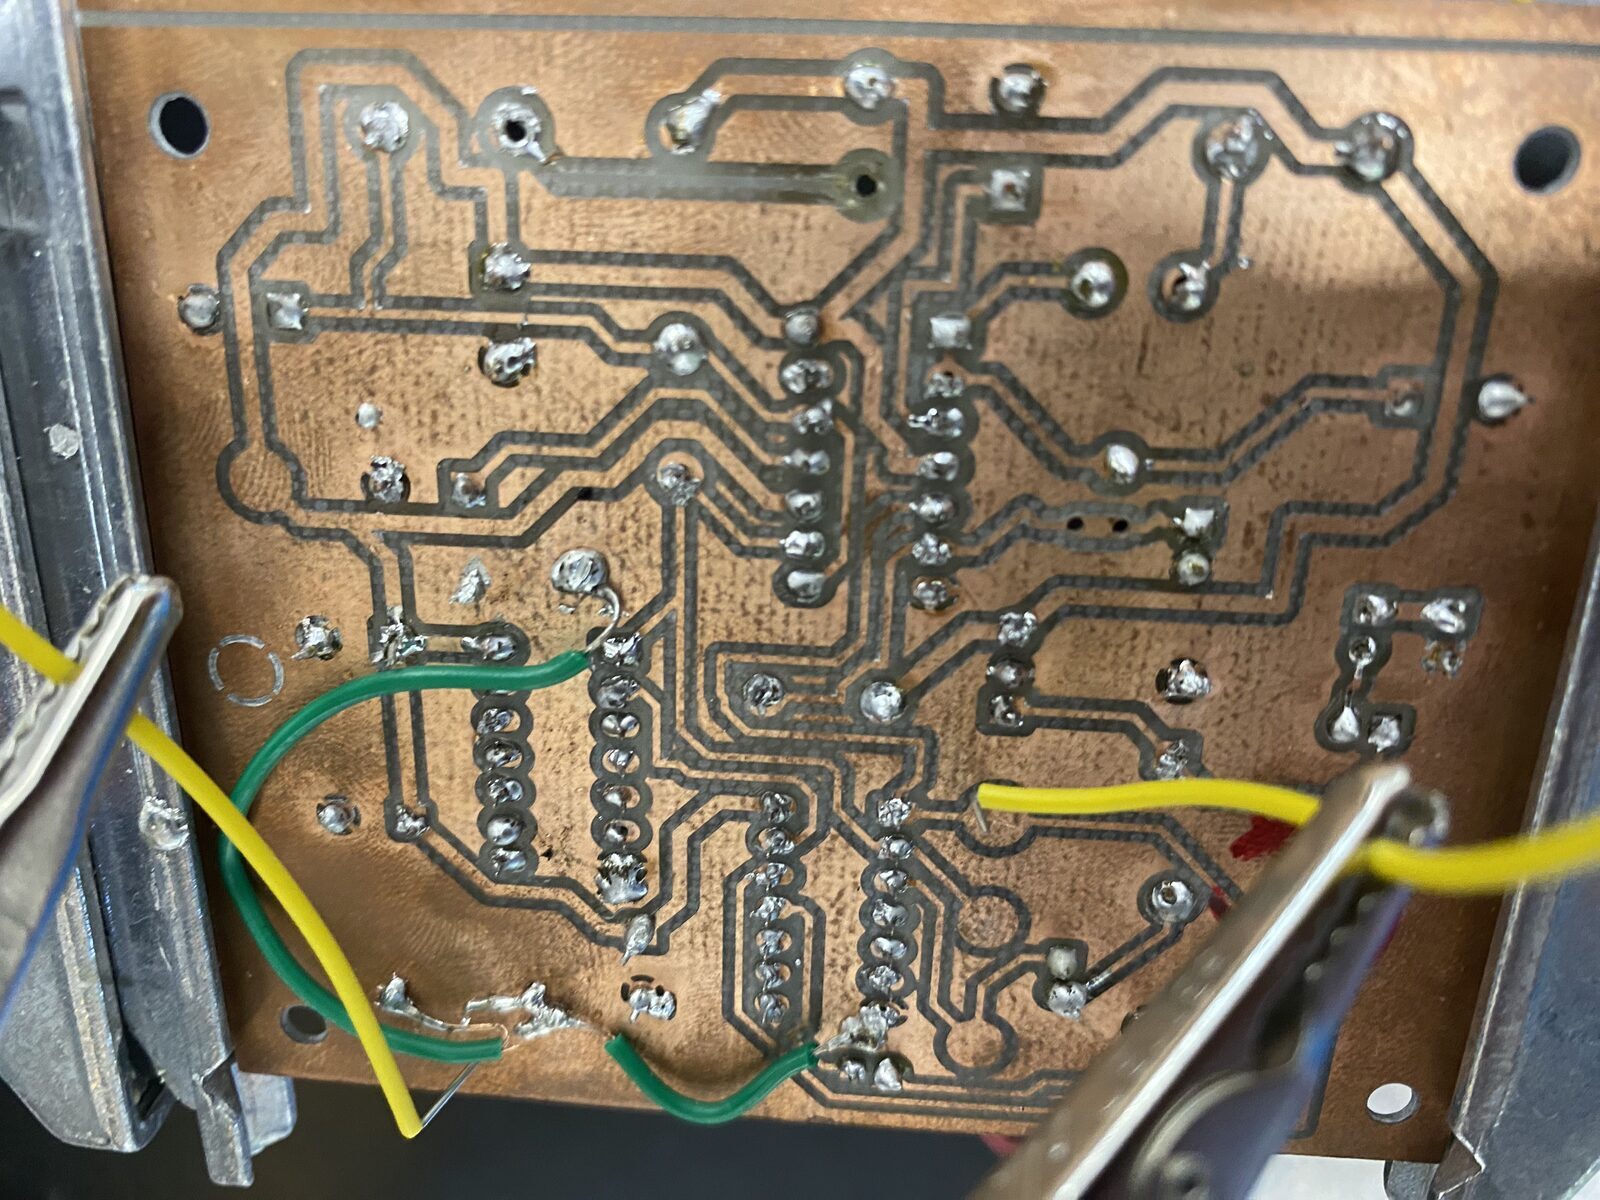
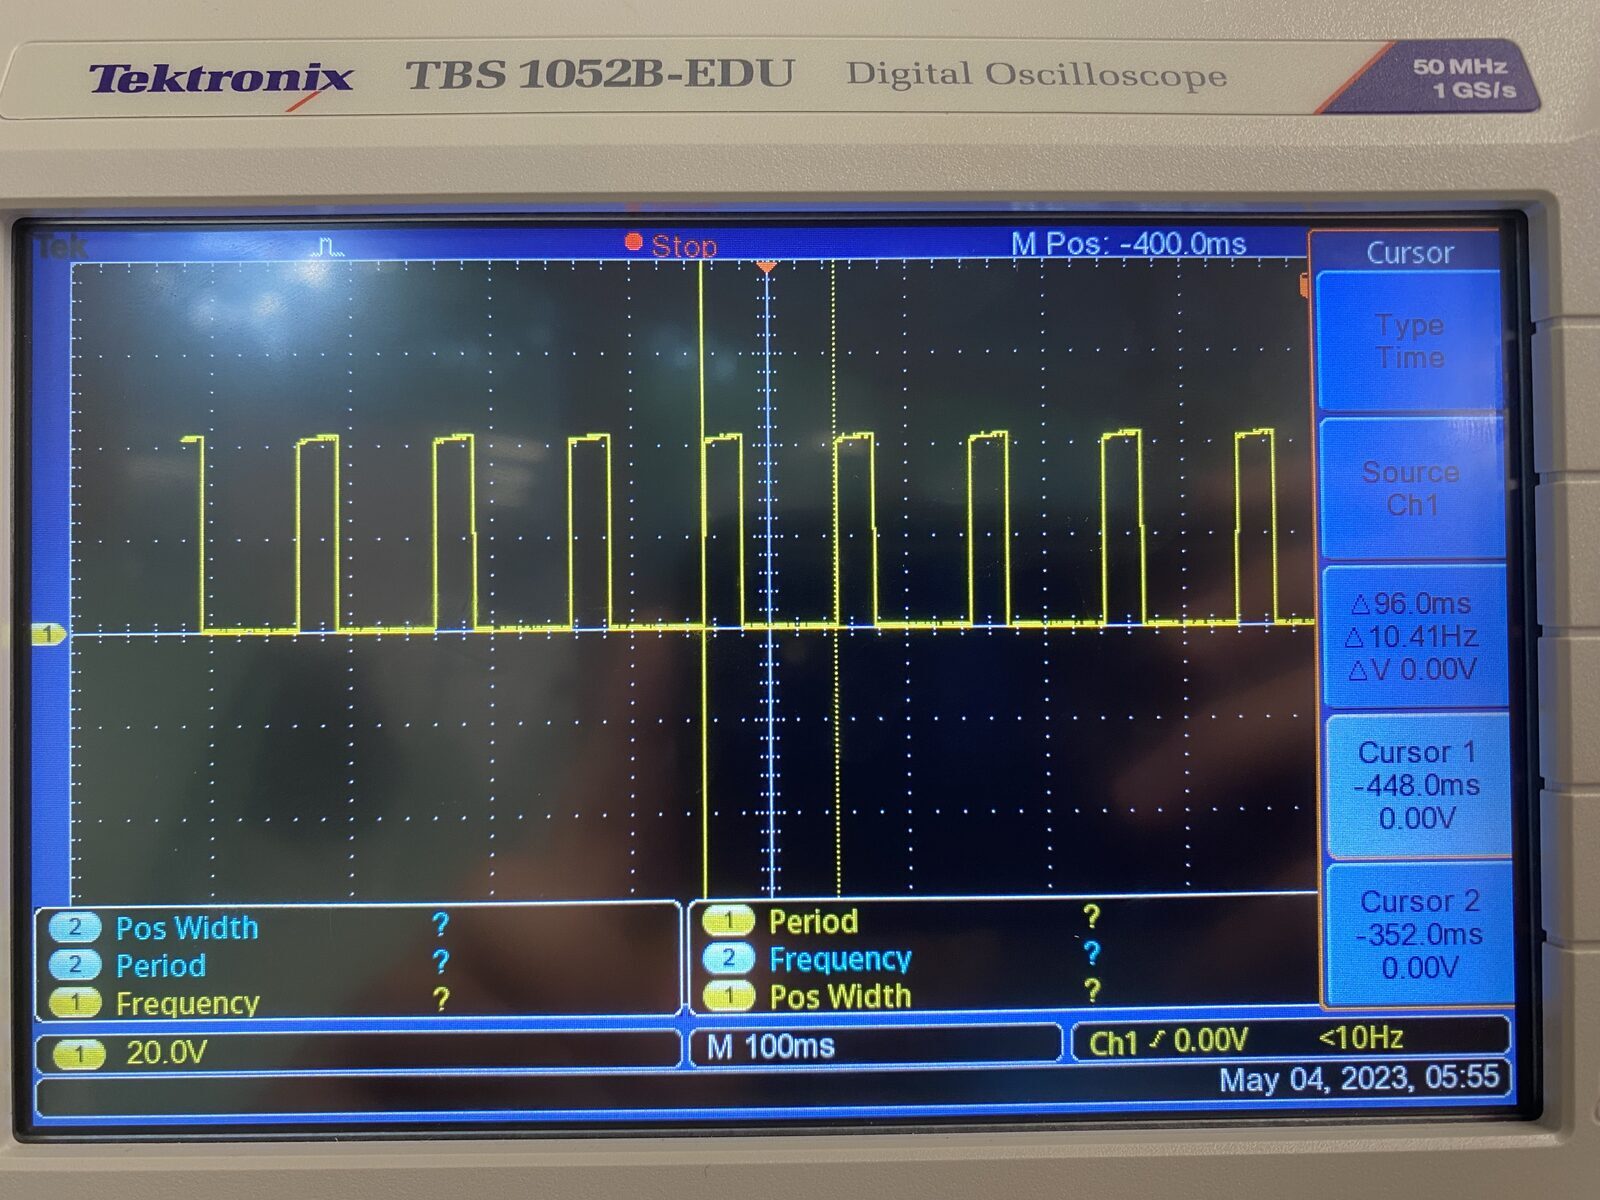
The design for the enclosure was anything we imagined, so I wanted to test my Onshape skills by creating something that would leverage all of the things we learned in the class.
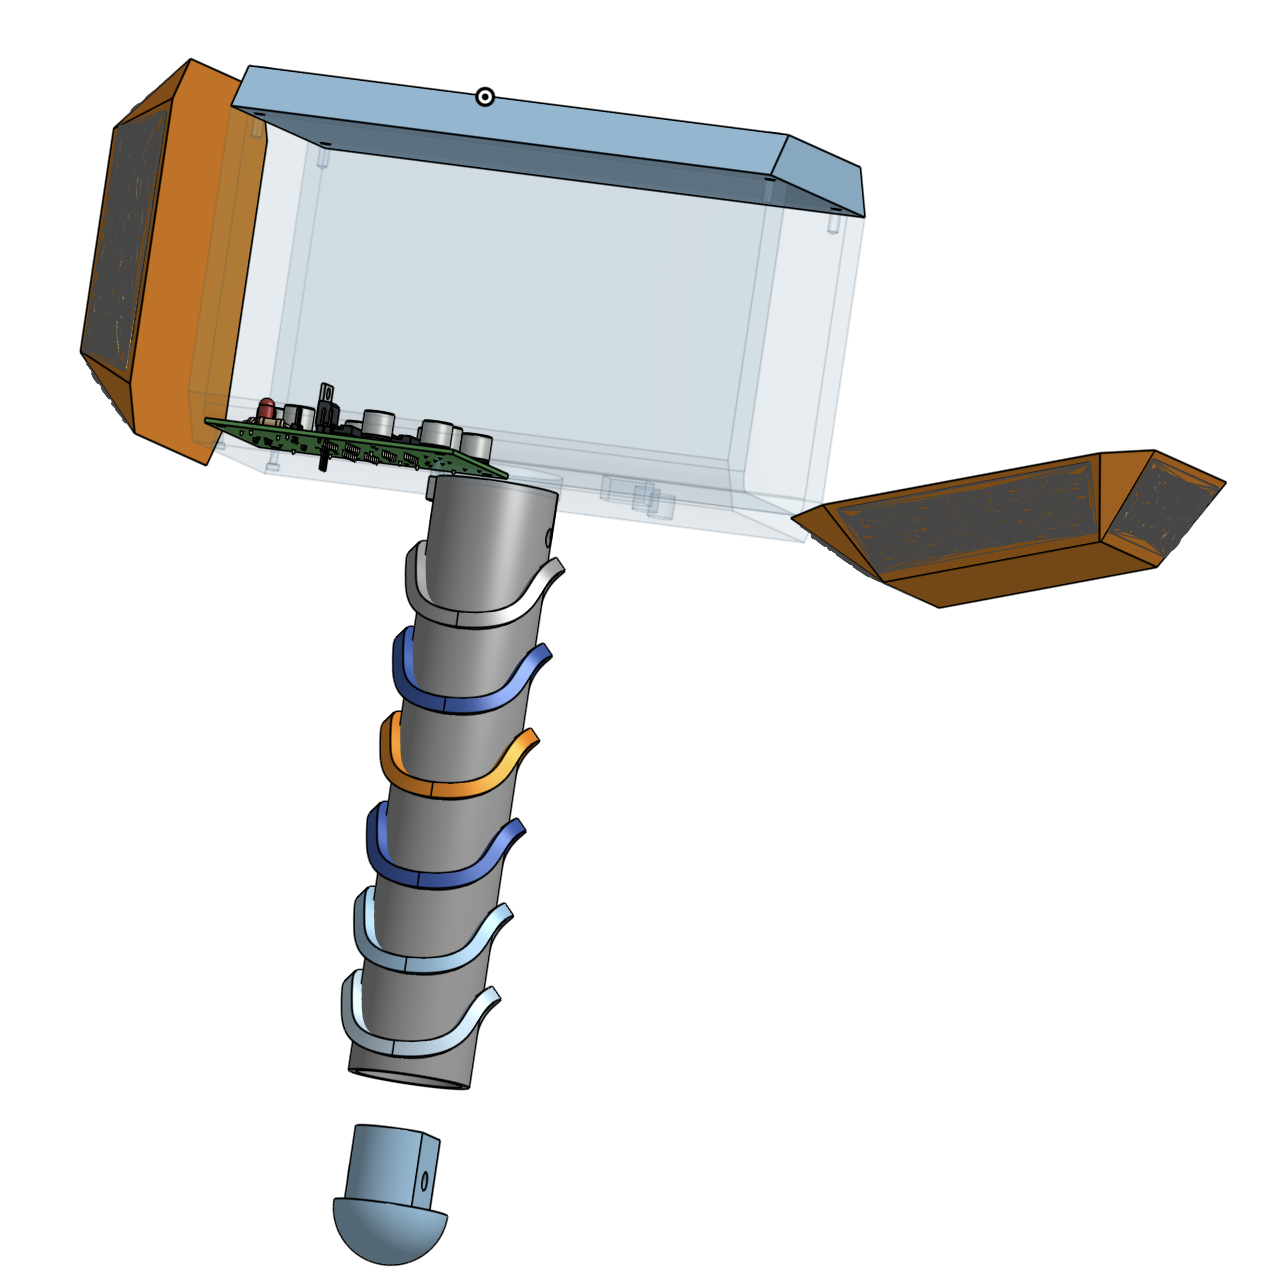
Onshape CAD: The CAD is on Onshape if you want to pull the assembly apart yourself, and the gerbers, BOM and DRC report are all in the repo.